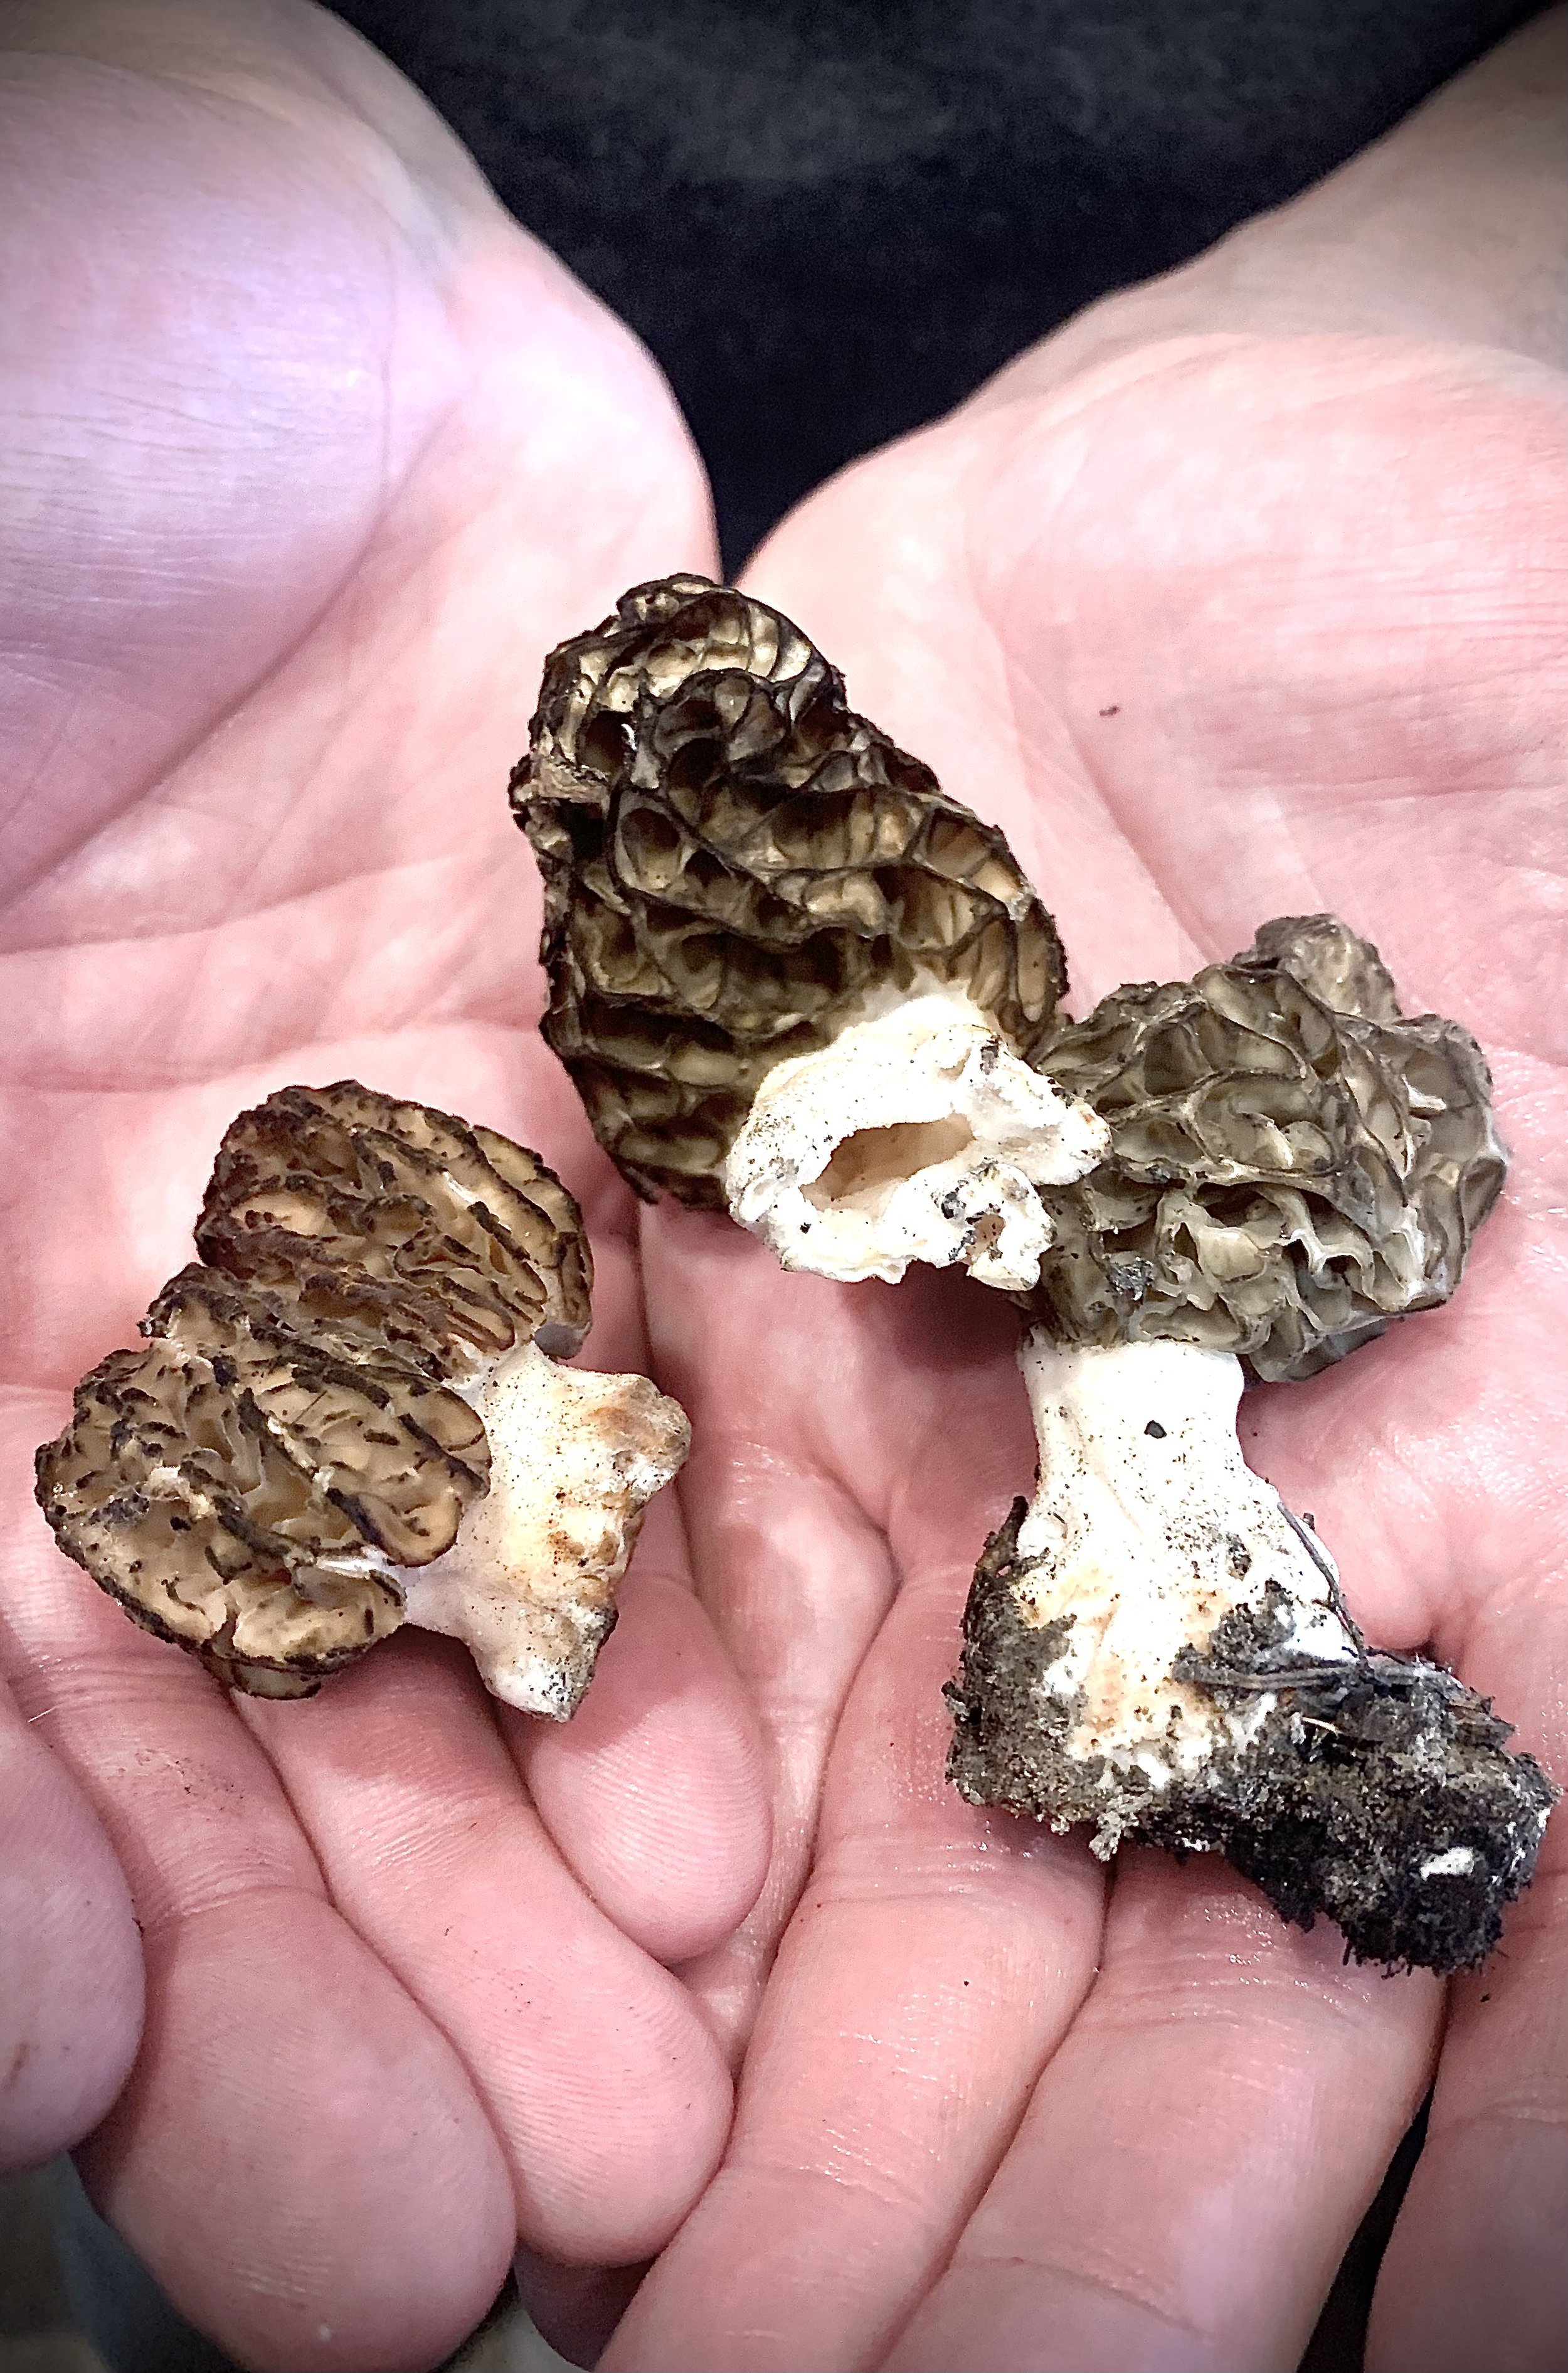
This Morel Mushroom and Asparagus Risotto was not just delicious to eat. It was also an adventure just to get the ingredients. I found these morel mushrooms on the North facing slope of a burn scar on my hometown mountain. The previous summer a fire had devastated much of the forest area. As many people do feel when natural disasters strike, the town felt helpless, afraid, filled with anger they were unable to direct, and at the end of it all just sadness.
Looking up at the charred, blackened shadow of where the forest trees once stood, I wasn’t interested in walking through the forest just to be reminded of the life that once filled the area. I wondered how long people would stay away.
A few weeks ago, I saw an Instagram post about morel mushrooms. These fungi emerge from the ground after their symbiotic partner, the tree, has died. After a fire, when nothing is left of a tree but the burnt base and naked branches, the morels sprout from the dark soils of the tree’s roots in order to reproduce. Burn scars are prime morel hunting country, and I had one right in my own backyard.
I had never hunted morel mushrooms before but looking online they seemed like a good starting point for fungi harvesting. Their distinctive look makes them the perfect beginner’s mushroom for hunting. More information on morel hunting can be found here: Morel Mushroom Hunting Tips.
Once I was walking around the burn, it took a while before I actually found any mushrooms. Like with the start of most hunting outings, I grew impatient and frustrated, thinking I was wasting my time, within the first five minutes. I always start there. But once the forest starts feeding you with its information and you block out the noise of your daily life, the purpose no longer becomes to find mushrooms. The purpose becomes to take in the moment around you: the slight smell of ash from the fire still filtering through the air, the rich, dark soil at your feet contrasted by emerging baby greens, the crows noisy discussing amongst each other somewhere in the distance, the wind meandering through the cracks of the burnt trees, and the taste of the light mountain breeze against your lips.

It also is that much better when you find morels!
I found about a pound of morels, which was the perfect amount for making this Morel Mushroom and Asparagus Risotto. Let’s get started cooking it!
Morel Mushroom and Asparagus Risotto
Risotto is a somewhat time-consuming meal, but I enjoy it. Like mushroom hunting, it is a time to unwind and just take a moment to yourself. It is not overly complicated to make, just requires a little patience and the engagement of your stirring muscles. To start, clean the morel mushrooms with water, removing all the dirt, and then slice into quarters.
In a small saucepan over low heat, warm a quart of vegetable stock. The stock should be kept at a simmer. You will use this for your risotto here in a bit.
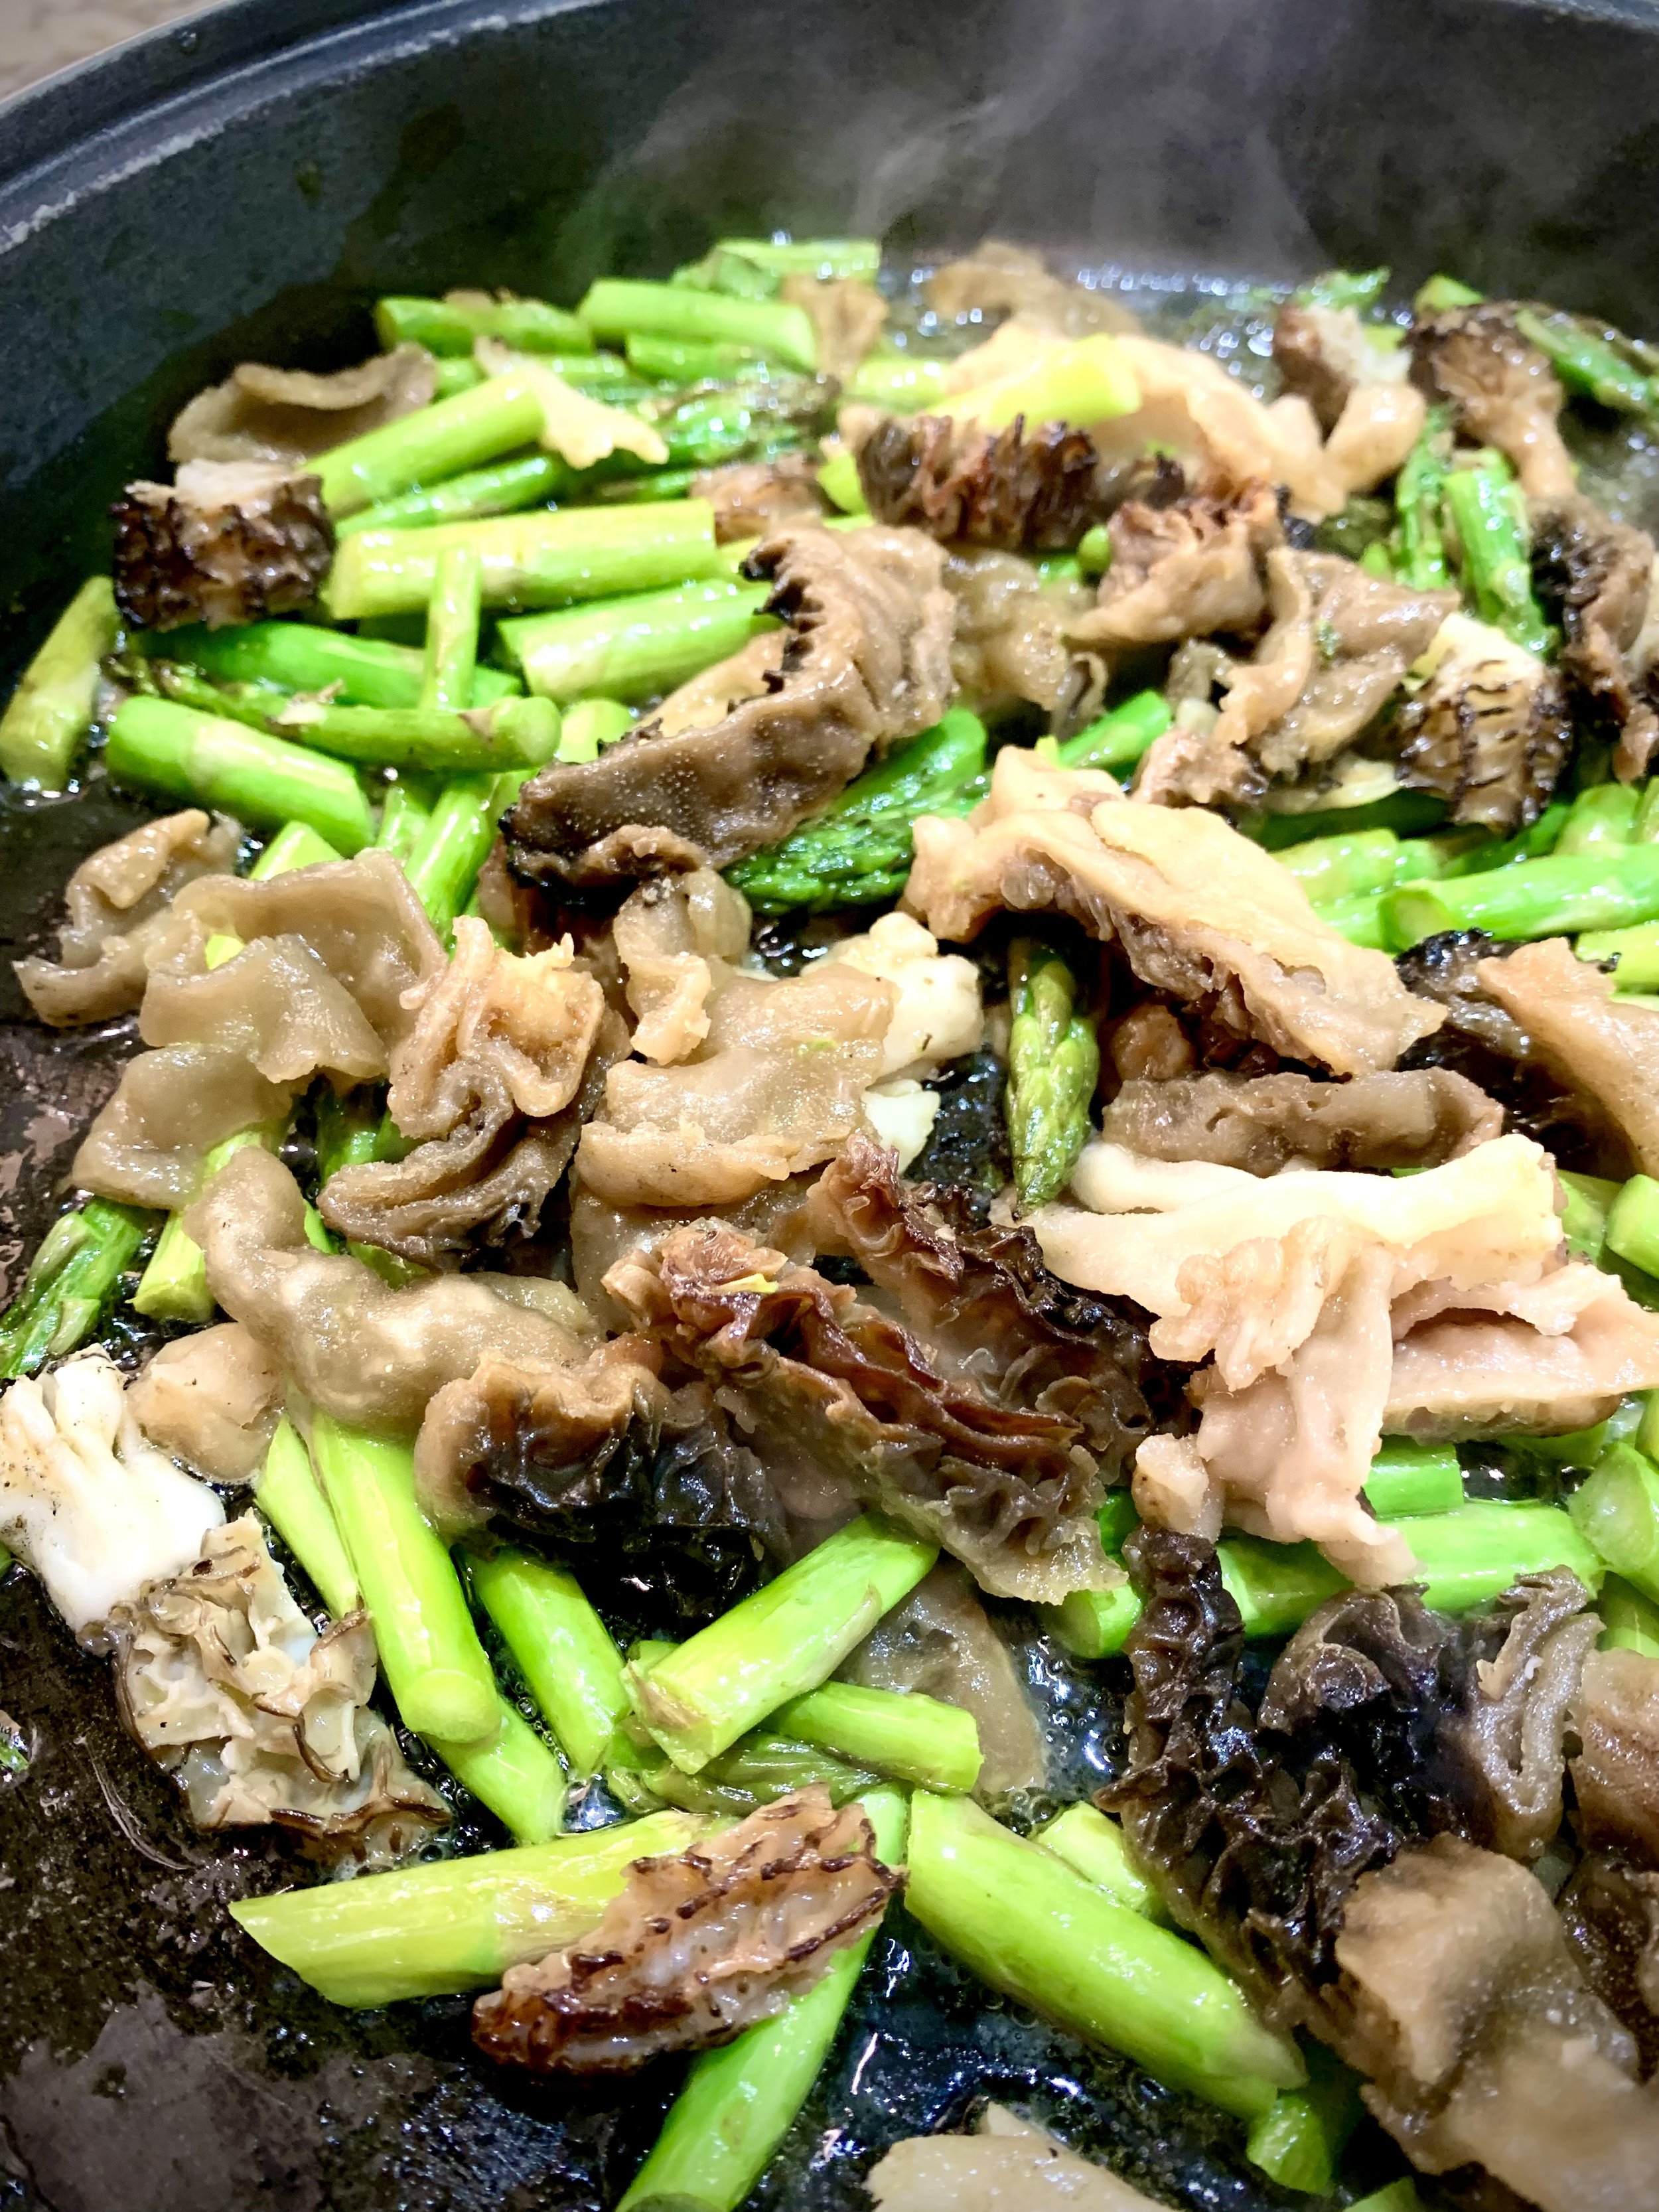
In a large skillet or even a dutch oven, add two tablespoons of olive oil and a tablespoon of butter over medium heat. Once the butter has melted, add your morels and asparagus. I cut the asparagus into two- or three-inch pieces for this recipe. Saute the mushrooms and asparagus until just starting to turn tender, about five minutes. Remove from the skillet and set aside.
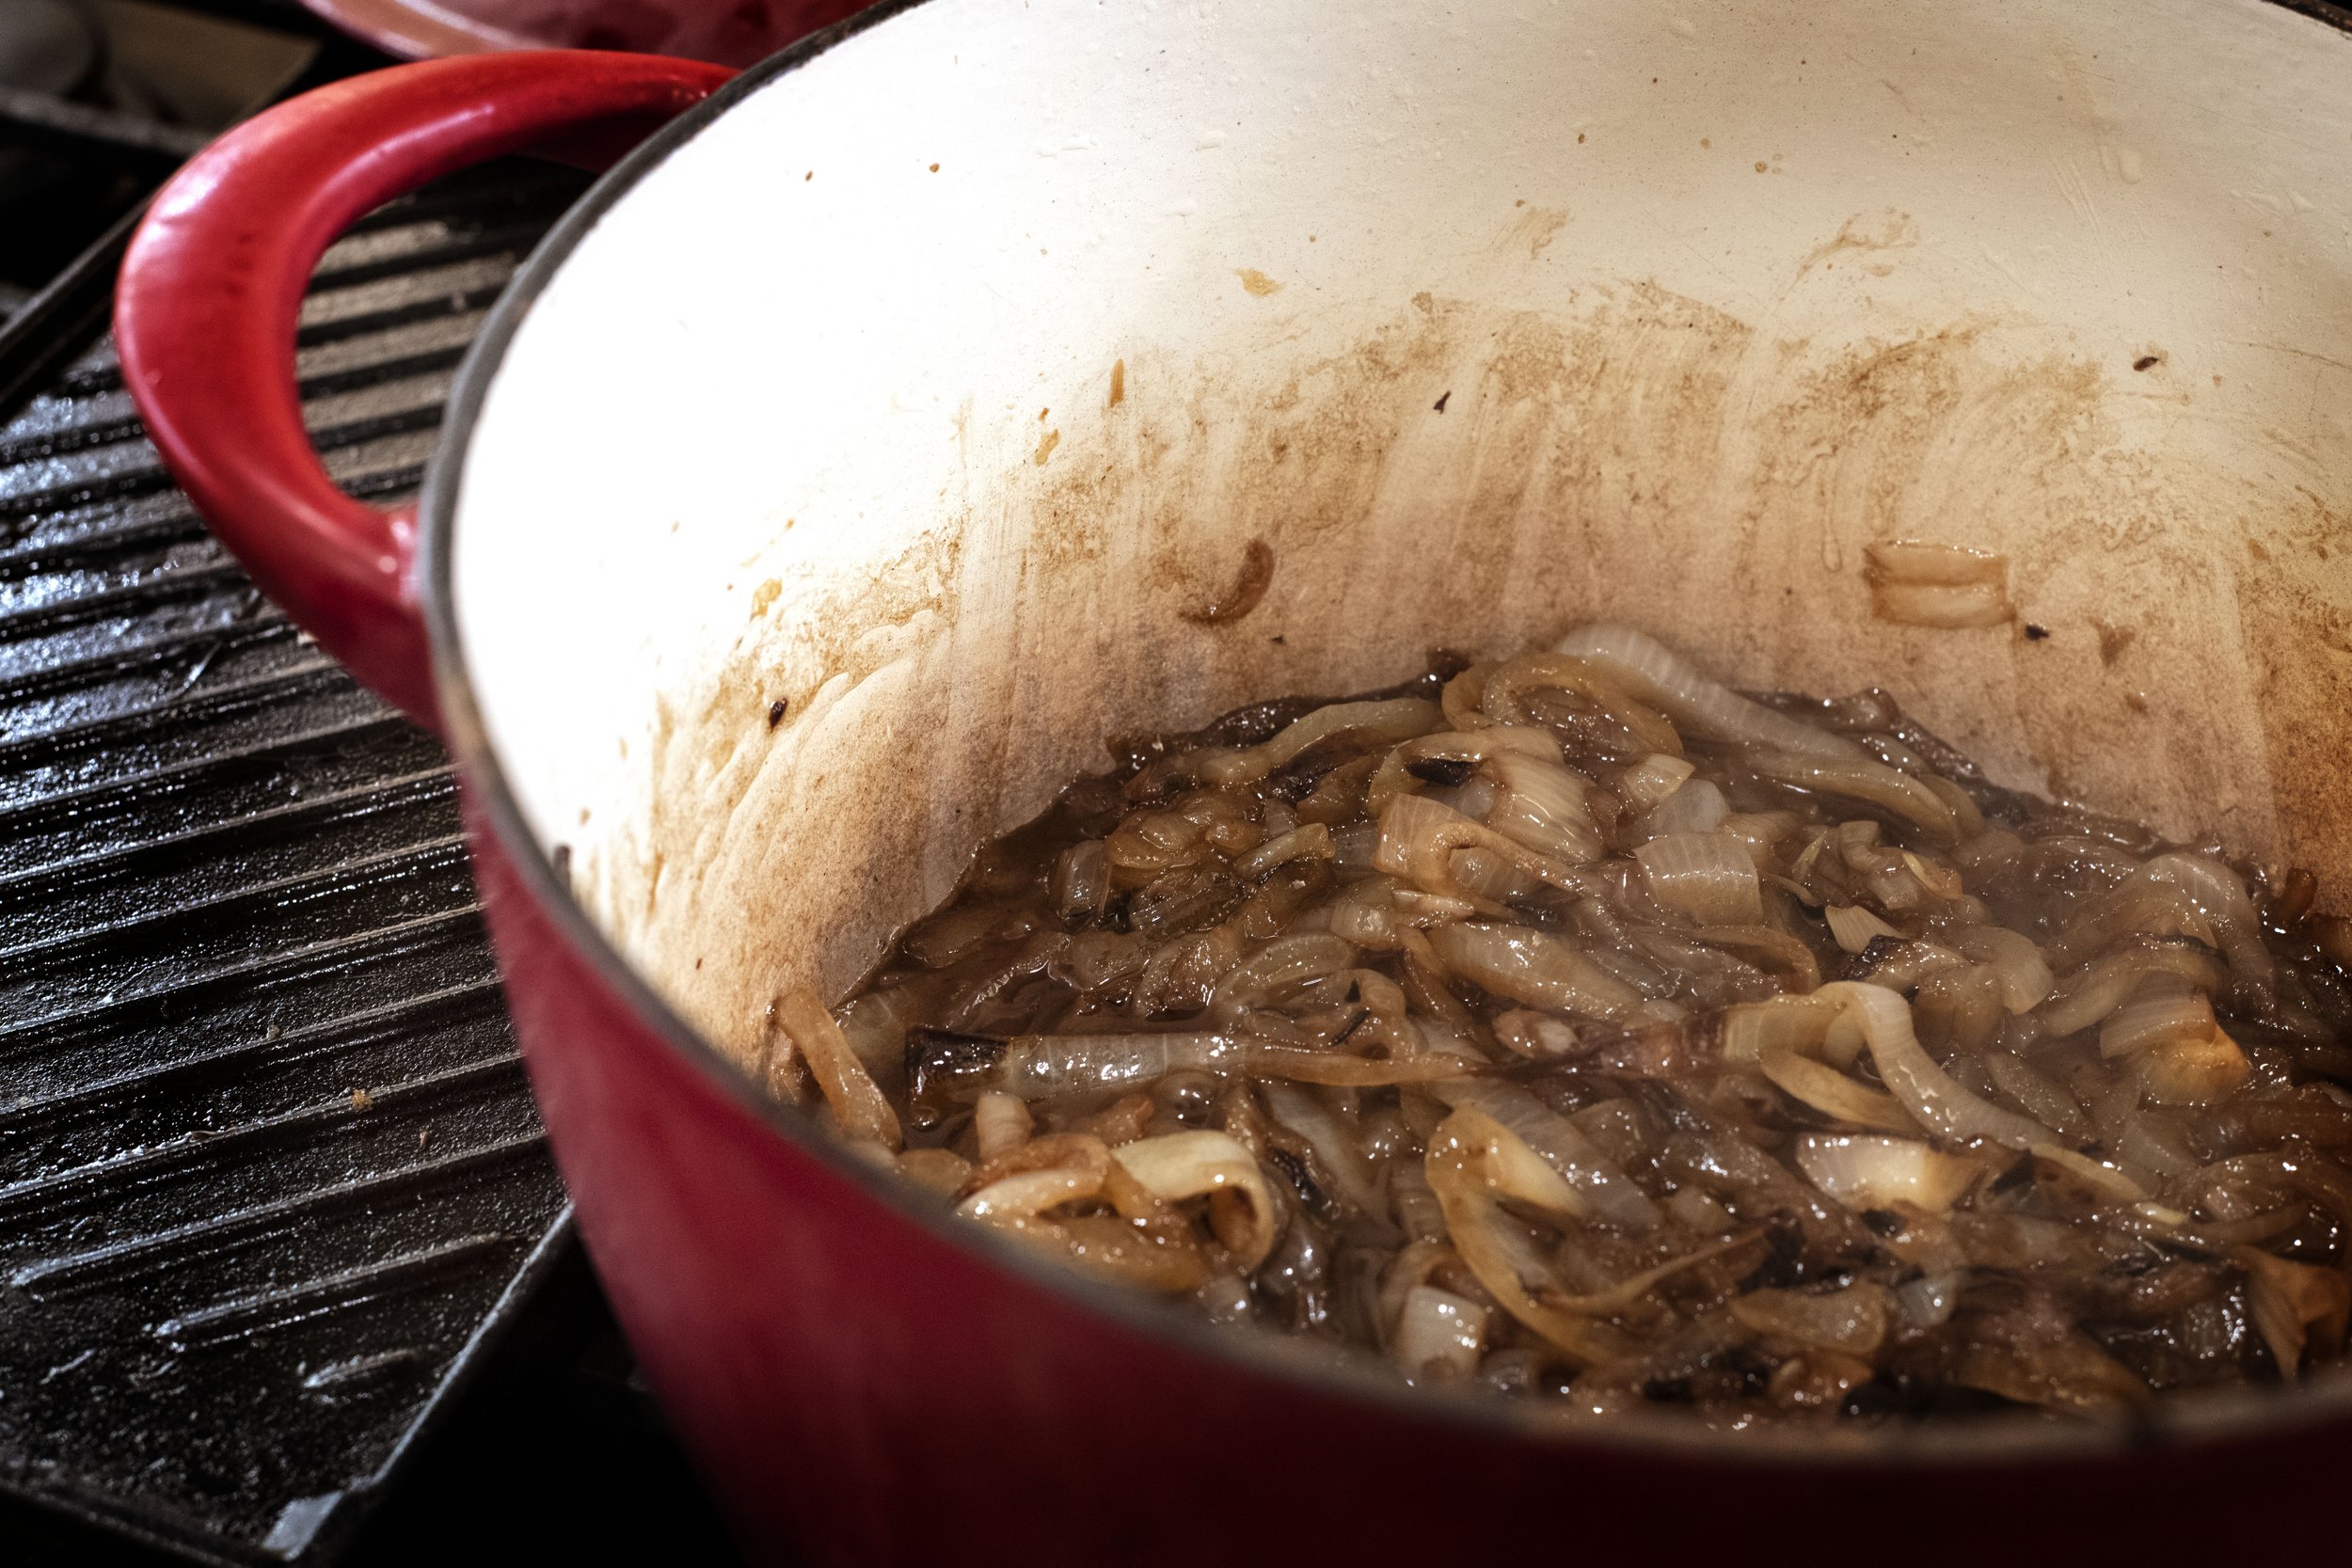
To the same skillet, add another two tablespoons of oil and one more tablespoon of butter. Add a medium size diced shallot and cook for two minutes. Pour in a cup of arborio rice and toast for another minute, stirring to keep it from browning too much. Add a few sprigs of fresh thyme. You can add the entire sprig and remove it after cooking, or just add the leaves. I just added the leaves.
Pour in a half cup of Marsala wine and let it simmer until completely evaporated. It is now time to start making the risotto! This part of the recipe takes between 12-17 minutes and is the relaxing part of the meal. Add between a quarter and half cup of the warm vegetable stock to the skillet. Ensure your heat is at a level where the liquid is just simmering and not boiling. You want the rice to slowly absorb the liquid and if the heat is too high the liquid will just burn off before the rice has a chance to work its magic.
Keep slowly stirring until the rice has absorbed all the liquid from the pan and then add another scoop full and keep stirring. Repeat this low and slow cooking method until the rice no longer is absorbing liquid. It should take the entire quart of vegetable stock. I have had times where I add another half cup of water to finish at the end, but not often. You will know the rice is finished when it is soft and chewy. There should also be a very light, starchy sauce surrounding the rice by the end. It shouldn’t be dried out like when you steam rice.
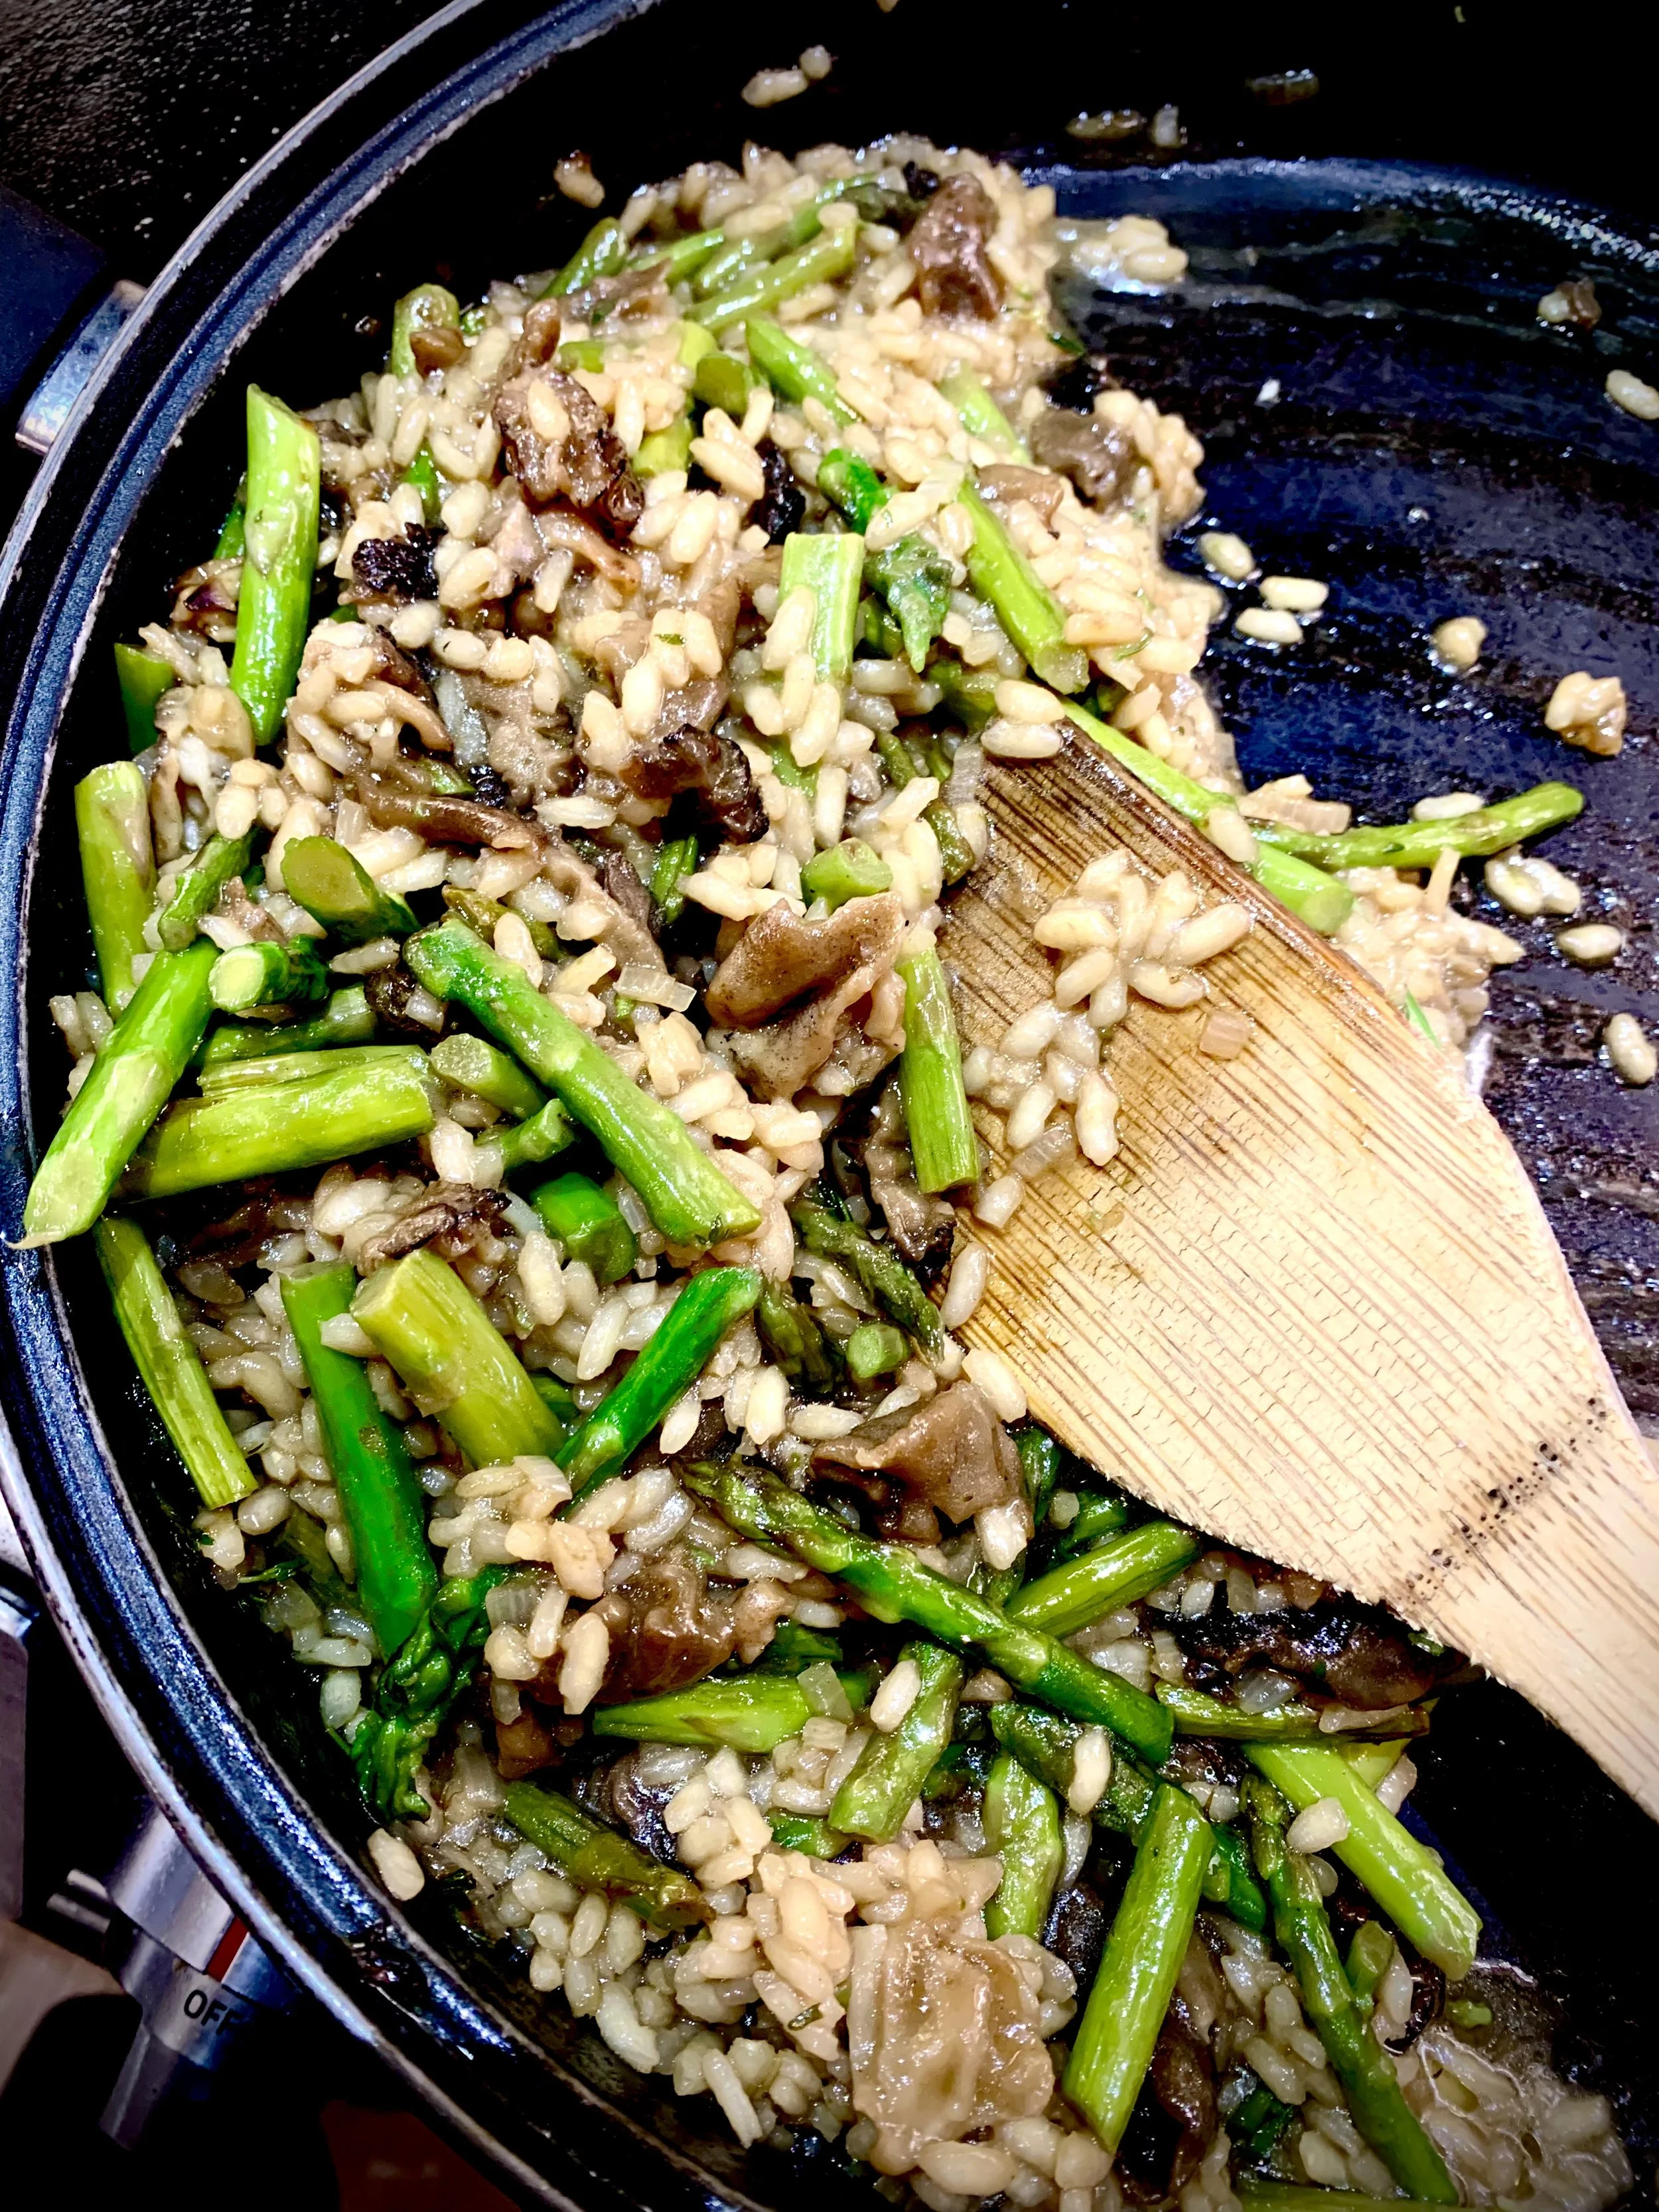
Once the rice is finished, add back in the morels and asparagus along with another tablespoon of butter for a little extra creaminess. Warm for another two to three minutes.
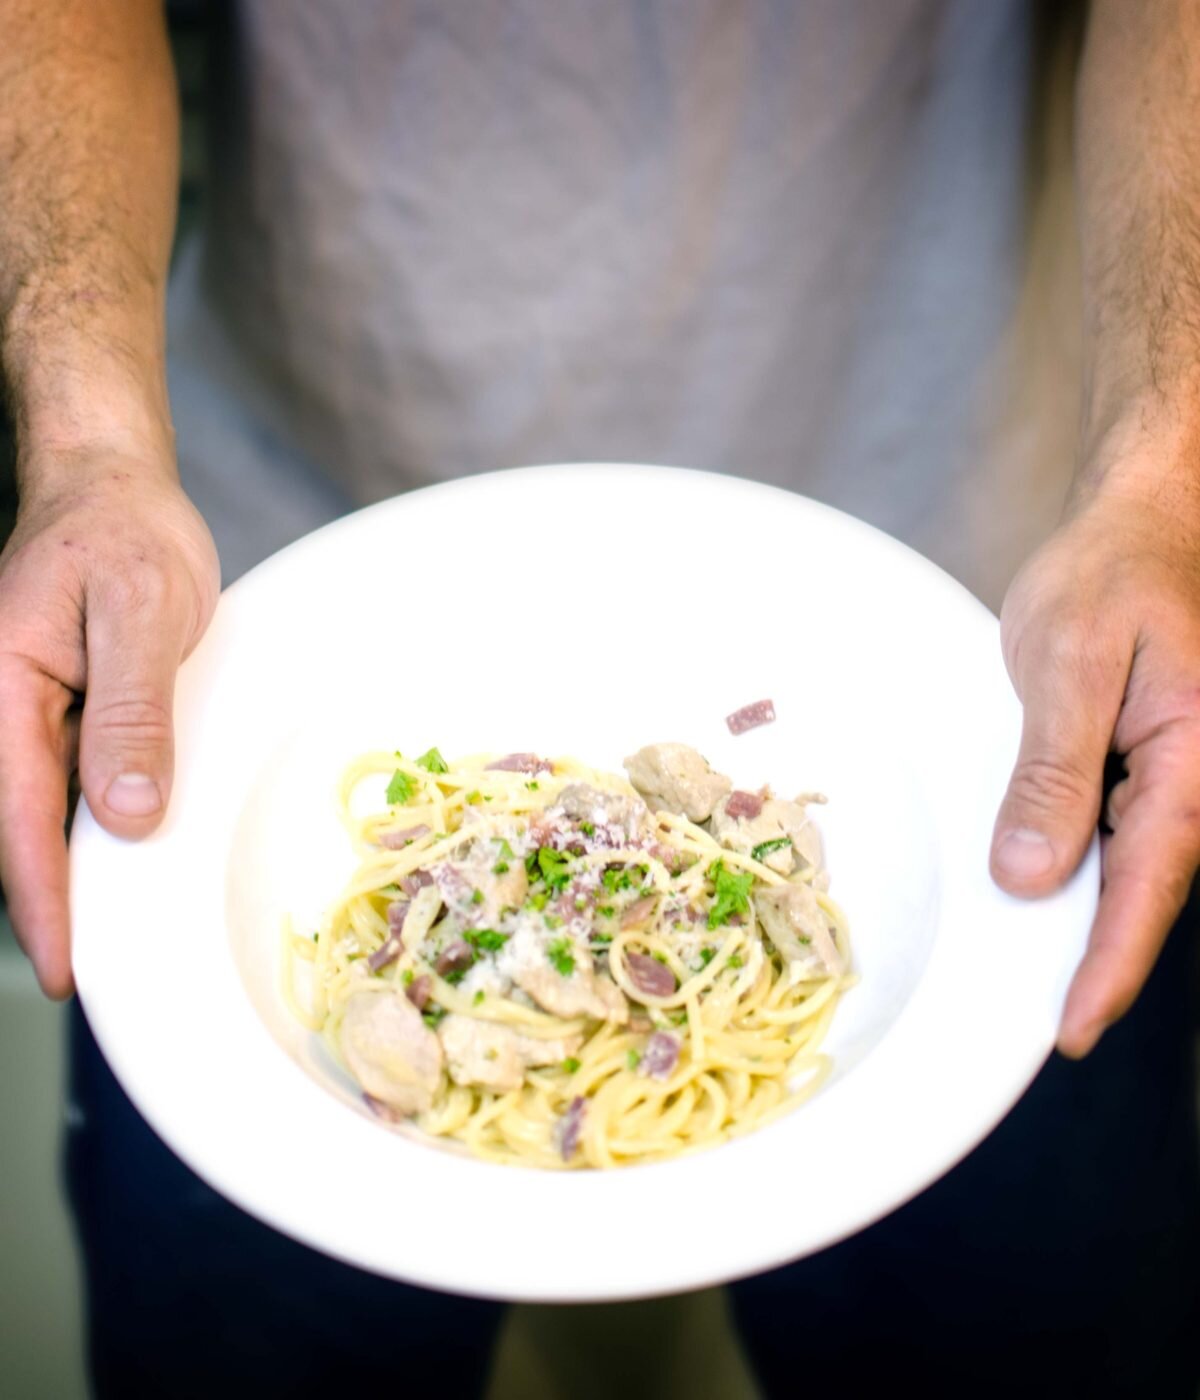
To plate up this delicious meal, add a heaping scoop of the Morel Mushroom and Asparagus Risotto to a bowl. Sprinkle fresh chopped parsley and some shaved Parmesan over top. Drizzle with a little olive oil or balsamic vinegar glaze if so desired. Season with some salt and fresh cracked pepper. And there you have it!

Happy (Mushroom) Hunting
Hello, World!

Morel Mushroom and Asparagus Risotto
Ingredients
- 1/2 pound fresh morel mushrooms, washed and quartered
- 1 pound asparagus, cut into 2 - 3 inch pieces
- 1 quart vegetable stock
- 1/4 cup olive oil
- 1/4 cup butter, cut into tablespoons
- 1 medium shallot, minced
- 1 cup arborio rice
- 1/2 cup Marsala wine
- 2 teaspoons fresh thyme
- Shaved Parmesan cheese
- Fresh parsley, chopped
- Salt and pepper to taste
- Optional garnishes: olive oil, balsamic vinegar glaze
Instructions
- In a small saucepan over low heat, warm a quart of vegetable stock This will be for building your risotto. Keep it warm while preparing the mushrooms and asparagus.
- In a large skillet or even a dutch oven, add two tablespoons of olive oil and a tablespoon of butter over medium heat. Once the butter has melted, add your morels and asparagus.
- Saute the mushrooms and asparagus until just starting to turn tender, about five minutes. Remove from the skillet and set aside.
- To the same skillet, add another two tablespoons of oil and one more tablespoon of butter. Add a medium size diced shallot and cook for two minutes.
- Pour in a cup of arborio rice and toast for another minute, stirring to keep it from browning too much. Add the fresh thyme leaves. Stir everything to coat in oil.
- Pour in a half cup of Marsala wine and let it simmer until completely evaporated.
- Add between a quarter and half cup of the warm vegetable stock to the skillet. Ensure your heat is at a level where the liquid is just simmering and not boiling. You want the rice to slowly absorb the liquid and if the heat is too high the liquid will just burn off before the rice has a chance to work its magic. Keep stirring often.
- Repeat this low and slow cooking method until the rice no longer is absorbing liquid. It should take the entire quart of vegetable stock. Sometimes additional water needs to added if the rice isn't quite soft and chewy after using all the vegetable stock.
- Once the rice is finished, add back in the morels and asparagus along with another tablespoon of butter for a little extra creaminess. Warm for another two to three minutes.
- To plate up this delicious meal, add a heaping scoop of the Morel Mushroom and Asparagus Risotto to a bowl. Sprinkle fresh chopped parsley and some shaved Parmesan over top. Drizzle with a little olive oil or balsamic vinegar glaze if so desired. Season with some salt and fresh cracked pepper