No season is more defined by flavor, smells, and taste than fall. Sure, summer has lemonade and watermelon, and winter has hot chocolate, but fall has a an overabundance of flavor. Pumpkin, cinnamon, caramel, ginger, cranberry, maple, and the list could go on and on! One of my favorite fall flavors to play with is apple.
"Good apple pies are a considerable part of our domestic happiness." ~ Jane Austen
Apple can be coupled with a variety of options. Caramel and apples are a wonderful pair. Pears and apples make for a sweet and tangy dish. Apples even compliment the subtle sweetness of onions when sautéed together. But nothing can quite compare to apples and cinnamon in a crusty, flaky traditional apple pie.
Apple season was in full swing last week, and I was lucky enough to get in a case of honey crisp apples to play around with. I decided to create a special weeknight apple pie treat at home. It was nothing short of amazing. Traditionally, apple pie is made with tart apples, like green granny smiths. Honey crisp apples, which are hybrid from keepsake apples and another unidentified parent, are a bit larger apple with a tangy sweetness and a firm texture. They are an excellent eating apple. I could not bring myself to eat an entire case of apples, so I had to come up with something to do with all those apples. Bring on the pie!
So, after making the pie at home, I decided to take some apples with me for our fall muzzle loader mule deer hunt. Dutch oven pie sounded like a pretty simple and good idea. I was right about the pretty simple part, it was easy to throw together and one of those recipes that would be hard to mess up. I was mistaken about the good idea; it was a great idea. The pie was even better in the dutch oven then than the one I had made at home.
So, if you are interested in having a phenomenal dessert to serve your hungry campers and hunters after a long day, look no further, dutch oven apple pie is it!
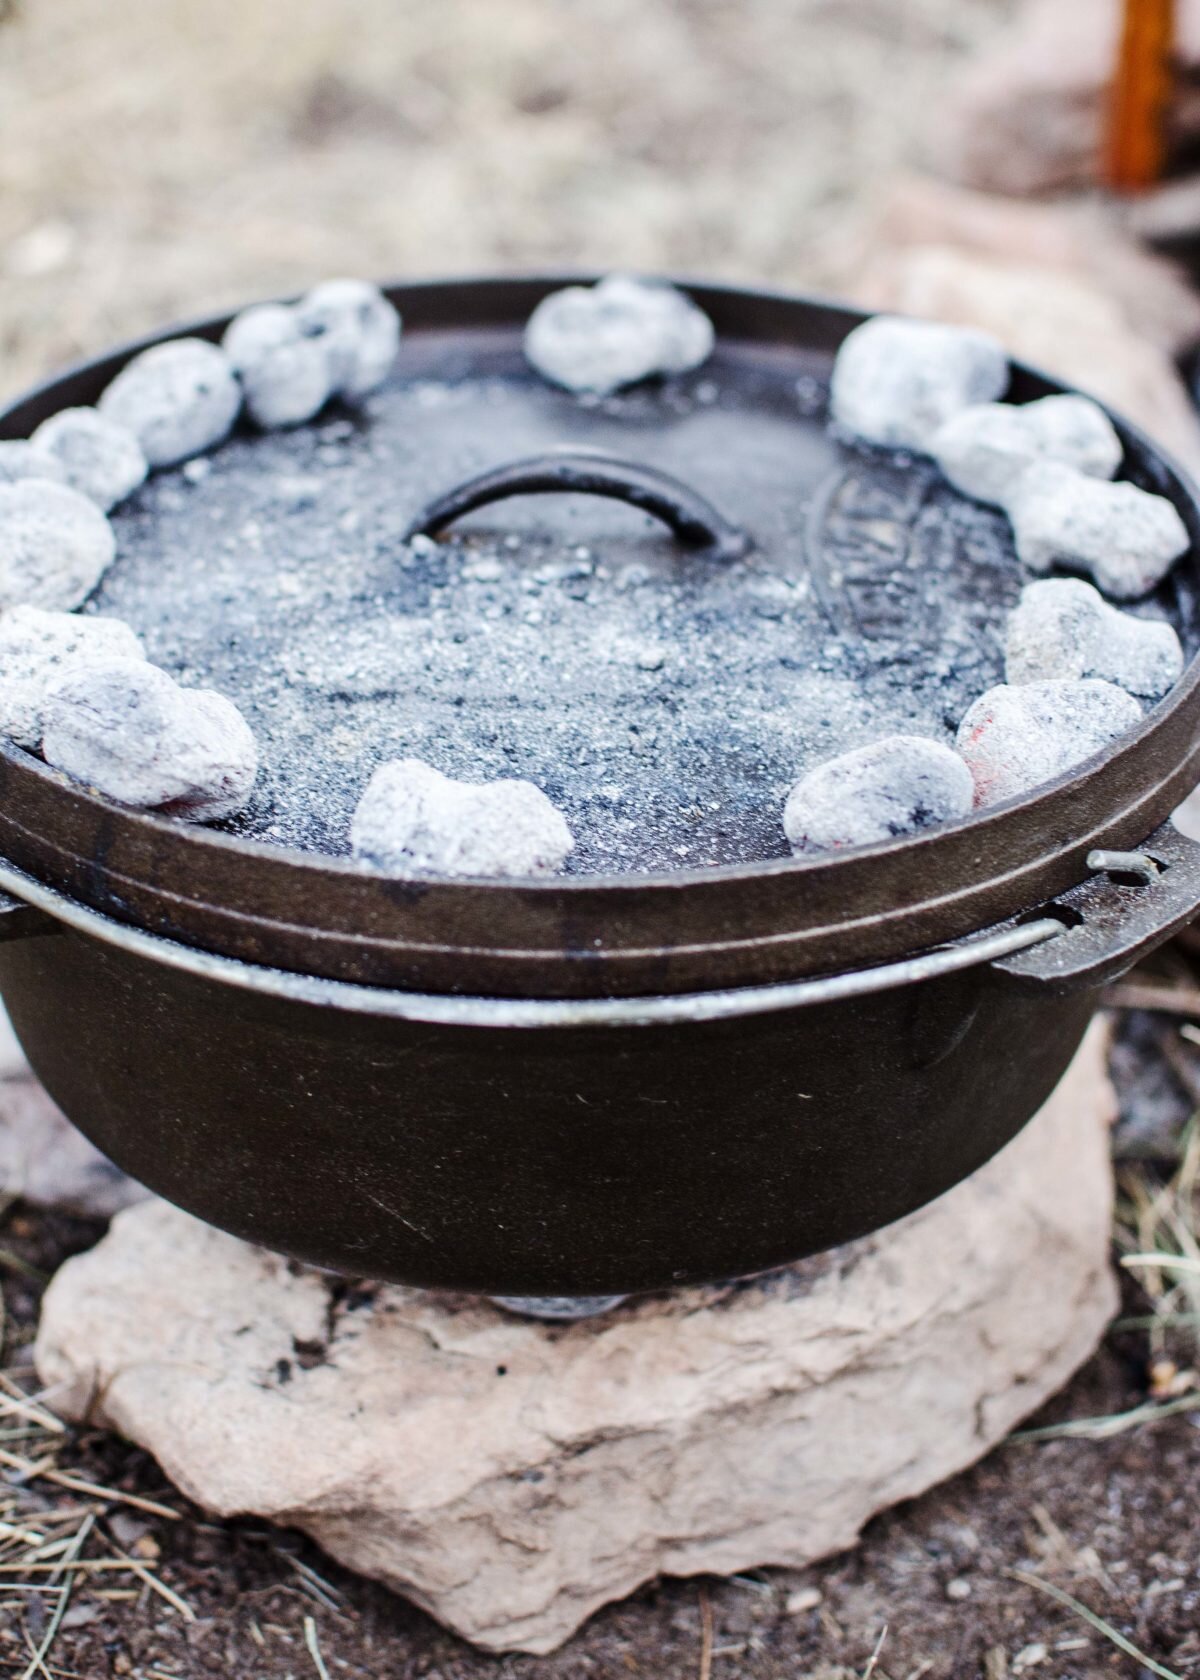
Start the coals first. They take quite awhile to get hot, so it is advantageous to start them before doing anything else. I use a charcoal chimney! I purchased my charcoal chimney at the Sportsman’s Warehouse for about $20.00 to start my coals. You could also do them in a fire pit, but I tend to lose a lot of coals when I do it that. With the chimney, all you do is crumple up a few pages of newspaper and stuff them under the base of the chimney, add your coals, and light the paper. You don’t need lighter fluid or even the match light coals. Initially, the chimney will set the coals on fire, much like the barbeque pit. After a few minutes, the coals will go down and they will start to ash over. It takes about ten to fifteen minutes for the coals to be ready. I usually pull mine from the heat when the top ones are half grey and half black. If you wait until the top ones are completely grey then the bottom ones are almost gone. A reminder I ALWAYS need when cooking with my dutch oven is to remember to not set up my dutch oven just in the dirt. The dirt will extinguish the coals (I know, common sense should take over here, but I do it all the time!) I usually set my dutch oven up on a flat rock, but you can also buy really great metal pans that make the process even easier!
Next, peel, remove the core, and slice the applies into slices that are about an inch thick. This is a task that technically could be done at home before leaving for camp. It would also be a fun task to have the kids help out with. As I said before, I used honey crisp apples, but a more common approach to apple pie is the granny smith apple. In all honesty, I would probably use the granny smiths if I had not had a case of honey crisp for the simple reason that honey crisp apples are expensive. Anyway, select the apple of your liking and start peeling!
When making desserts in a dutch oven, I like to line the oven with aluminum foil. It is probably against some cardinal dutch oven rule to line the inside with foil, as the idea behind cast iron cooking is the oven becomes seasoned over time with all the dishes you have created inside it and this assists in creating even more flavor with each additional dish, but desserts use sugar, which is sticky, and makes a big, difficult to clean up mess. So, I line the oven with foil for any sugary dessert.
For this dessert, you want to use a smaller dutch oven. An eight inch oven would be ideal for this pie, but I only had a ten inch available. It still worked fine. I laid the crust in the bottom of the oven and then added the apples over the top. When I prepare apple pie at home, I like to make a crust from scratch. When I am out in the wilderness, crusts from scratch are cut and I just use the store bought refrigerated ones.
For the sugar syrup in the apple pie, you will need a gas stove. You could do this part in a dutch oven, and it would work just fine, but it would require having two ovens. So, I used a small camp gas stove. In a small sauce pan over medium heat, melt a stick of butter. Once the butter is melted, sprinkle in three tablespoons of flour and then whisk until a paste is formed. To the paste, pour in a quarter cup of water, a half cup of brown sugar, a half cup of sugar, a tablespoon of cinnamon, a teaspoon of ginger, and a quarter teaspoon of salt. Mix until the sugar starts to dissolve and then let the mixture cook at a very light boil for five minutes.
To make things a little easier, I pre-measured the sugars, cinnamon, ginger, and salt and placed them in a Ziploc bag. This makes cooking outside a bit easier because you don't have to worry about bringing measuring cups along for your camping trip.
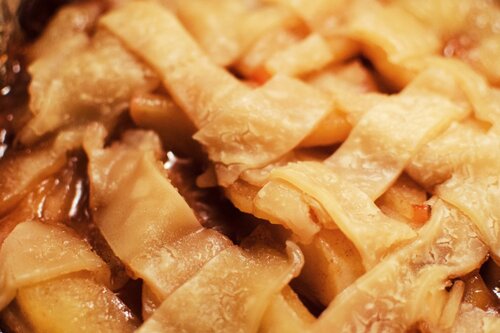
Pour the sugar syrup over the apples. Cut the second crust into inch thick slices and create a lattice top over the pie. Cover the oven and set over the coals. For this recipe, the oven needs to be cooking at about 350 degrees. I put 14 coals on the bottom and about 10 to 12 on the top and let her go! I also like to check the temperature of my oven by using my hand to guesstimate where things are at. I read this online, and while it isn’t a fool proof method, I have found that it has not failed me yet. So, place your hand about 6 to 8 inches above the dutch oven. You should only be able to hold it there for about five seconds. If you can do this, you are at about 350 degrees. If you can hold it there longer, say ten seconds, you are more around 250-300 and you need to add more coals. If you are only able to hold it there for a second or two, you are too hot, more around 400+, and need to remove a couple of coals from the bottom.
Let the pie cook for about an hour. The top should be slightly browned and the sugar syrup bubbling up between the lattice holes. You also should be able to smell the pie. I call this the sniff test, which was a technique shared with me by my brother-in-law (he worked for years as a river guide on the Colorado River and made thousands of dutch oven meals. I consider him my dutch oven mentor!). Going by smell sounds like a weird tactic, but it works and it is crazy! You might THINK you smell the pie a few times and will catch a couple of whiffs, but when the dessert is done you will be OVERWHELMED by the smells of cinnamon, apple, and brown sugar and it can be from a good distance away. That is a sure fire way to know it is ready to eat!
Happy Hunting!

Dutch Oven Apple Pie
Ingredients
- 8 medium apples, peeled, cored, and sliced
- 2 refrigerated pie crusts (usually come in a pack of two)
- 1/2 cup butter (one stick)
- 3 tablespoons flour
- 1/2 cup brown sugar
- 1/2 cup white sugar
- 1 tablespoon cinnamon
- 1 teaspoon ginger
- 1/4 teaspoon salt
Instructions
- Start coals for dutch oven.
- Peel, core, and slice apples into two inch slices. Set aside.
- Line oven with foil, and cover oven bottom with one pie crust. Pile in apple slices.
- Over medium heat in a small saucepan, melt the butter. Sprinkle in flour and whisk until paste forms.
- Add sugars, cinnamon, ginger, and salt. Stir until combined. Let boil for five minutes.
- Pour sauce over apples and create lattice top with second pie crust.
- Cover dutch oven with lid and set over 14 coals. Add 10 to 12 coals on top. Allow to cook for one hour.
- Enjoy!


